How to Change Your IP Address Without a VPN on Windows 11
Introduction
Virtual Private Networks (VPNs) are popular tools for encrypting internet traffic and altering your apparent geographic location. However, VPNs are not always necessary—or ideal—when you simply need to change your IP address on Windows 11. Whether you are troubleshooting network connectivity issues, attempting to bypass local device bans, or separating traffic on a local network, Windows 11 provides several built-in utilities and networking protocols to modify your IP address manually.
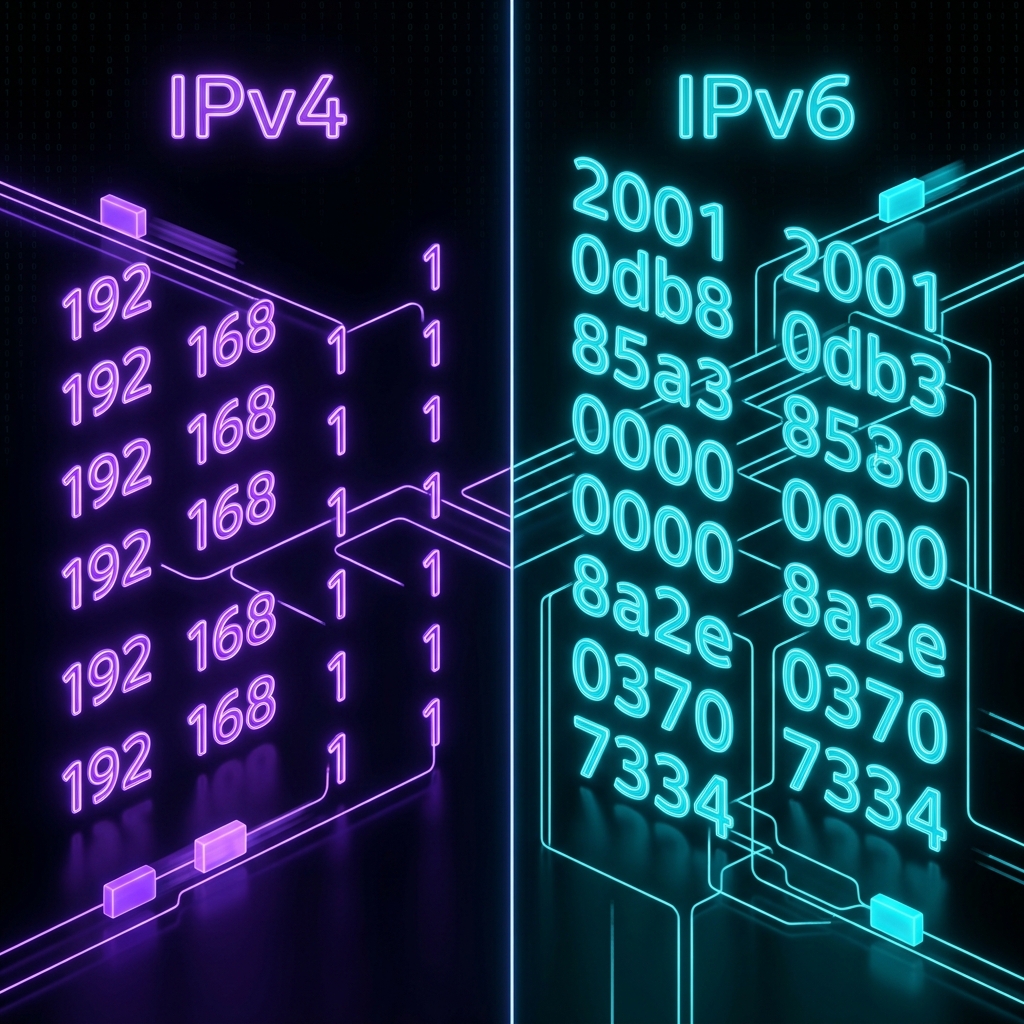
Before proceeding, it is important to distinguish between your Private (Local) IP address—assigned to your Windows PC by your home router—and your Public IP address, which is assigned to your network by your Internet Service Provider (ISP). To understand more about how IP routing operates at the protocol level, you can review Cloudflare's guide to IP addresses.
Method 1: Release and Renew Dynamic IP via Command Prompt
If you need to change your private IP address within your local network (LAN), using the Windows Command Prompt to request a new dynamic lease from your router's Dynamic Host Configuration Protocol (DHCP) server is the fastest method.
Step-by-Step Instructions:
- Press Win + S, type cmd, right-click Command Prompt, and select Run as administrator.
- Type the following command to drop your current local IP address and press Enter:
ipconfig /release - Once executed, type the following command to request a new IP address from your router:
ipconfig /renew - To flush cached DNS records that might be causing connection conflicts, run:
ipconfig /flushdns
This process forces your network adapter to renegotiate its lease with the gateway. For detailed technical specifications on dynamic addressing, consult Microsoft Learn's DHCP documentation.
Method 2: Manually Set a Static Local IP in Windows 11 Settings
If your router's DHCP server keeps assigning you the same IP address after a renew request, you can explicitly configure a custom static IP address directly within the Windows 11 Settings app.
Step-by-Step Instructions:
- Open Settings by pressing Win + I.
- Navigate to Network & internet in the left sidebar.
- Select either Wi-Fi or Ethernet, depending on your current connection type.
- Click on Hardware properties or your network profile name.
- Find IP assignment and click the Edit button next to it.
- In the drop-down menu, change Automatic (DHCP) to Manual.
- Toggle the IPv4 switch to On.
- Enter your preferred static IP address (for example,
192.168.1.150), Subnet Mask (typically255.255.255.0), and Gateway address (usually192.168.1.1). - Click Save to apply the changes.
Method 3: Reset Your Router to Obtain a New Public IP Address
To change your Public IP address—the address seen by external websites—without a VPN, you must alter the IP assigned by your ISP. Most consumer ISPs allocate dynamic public IP addresses using standard DHCP lease timers.
How to Force a Public IP Change:
- Power Cycle the Router: Unplug the power cable from your modem or router. Leave it completely turned off for 5 to 10 minutes (some ISPs require up to 30 minutes for the DHCP lease on their end to expire). Plug the router back in and wait for it to establish a connection.
- MAC Address Cloning: Modern routers often feature a "MAC Clone" option inside their administrator panel. Because ISPs bind public IP addresses to your router's WAN MAC address, changing this hardware address tricks your ISP into recognizing a "new" device and issuing a fresh public IP immediately.
Method 4: Configure a Proxy Server in Windows 11
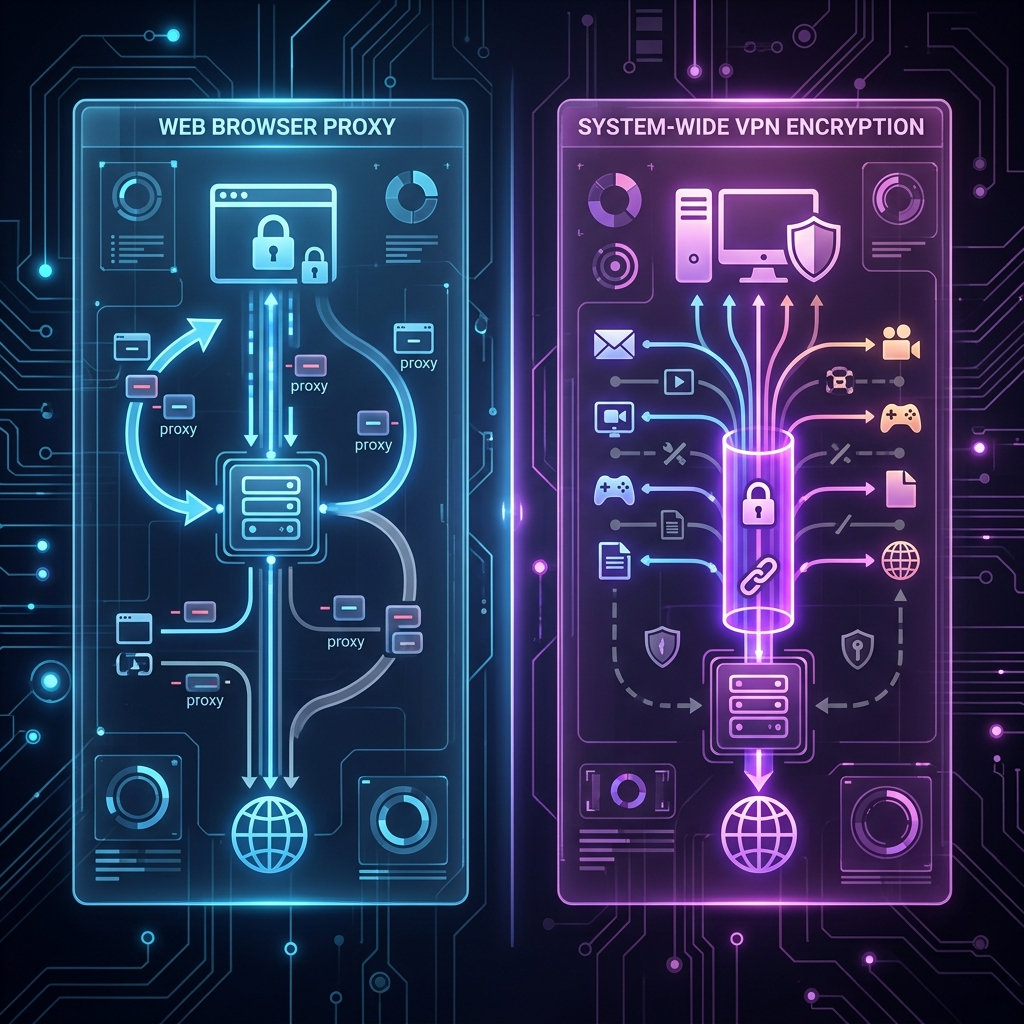
If your goal is to mask your real public IP address when accessing web services without routing all device traffic through a full VPN client, a proxy server offers an ideal, lightweight alternative.
Configuring a System-Wide Proxy in Windows 11:
- Press Win + I to open Settings.
- Go to Network & internet and select Proxy.
- Under the Manual proxy setup section, click Setup next to "Use a proxy server".
- Toggle Use a proxy server to On.
- Enter the proxy's IP address and Port number provided by your network administrator or proxy provider.
- Click Save.
Using a proxy routes your HTTP/HTTPS application traffic through an intermediary node, replacing your public IP address for browser traffic while keeping system overhead low.
Method 5: Use Mobile Hotspot or Alternative Networks
Another practical way to acquire a completely different public IP address instantaneously is to switch network interfaces altogether:
- Enable the Personal Hotspot feature on your mobile phone.
- Connect your Windows 11 machine to the hotspot via Wi-Fi or USB tethering.
- Your network traffic will now route through your cellular provider's infrastructure, assigning your PC a brand-new public cellular IP address.
Conclusion
Changing your IP address on Windows 11 does not always require paid VPN services. By mastering basic command-line toolsets, Windows 11 adapter settings, proxy options, and router settings, you can manage both your private and public IP configuration efficiently for enhanced privacy and network management.
Related Articles