How to Check If Your IP Address Is Blacklisted (And How to Delist It)
Few things disrupt digital operations faster than suddenly finding your IP address placed on a network blocklist. Whether your emails are bouncing back with critical delivery errors or your users are blocked from accessing external web servers, an IP blacklist status demands immediate attention. As cybersecurity specialists, we frequently see legitimate organizations blocked due to compromised endpoints, misconfigured mail servers, or shared infrastructure reputation issues.
In this guide, you will learn how IP blacklists operate, how to quickly check your IP status across major Domain Name System Blacklists (DNSBLs), and the exact remediation steps required to clean your network reputation and request delisting.
What Is an IP Blacklist?
An IP blacklist (also known as a blocklist or Real-time Blackhole List / RBL) is a database of IP addresses identified by security organizations as sources of spam, malware distribution, botnet activity, or malicious traffic. Internet Service Providers (ISPs), web hosts, and enterprise email security gateways use these lists to block traffic from listed IPs before it reaches end-user inboxes or internal networks.
Organizations like Spamhaus, Barracuda, and Sorbs maintain automated honeypots and threat intelligence networks to detect malicious traffic patterns. If traffic originating from your IP address matches these signatures, your IP is automatically added to one or more databases.
How to Check If Your IP Address Is Blacklisted
Before initiating any delisting process, you must accurately diagnose whether your IP is listed and pinpoint which specific databases hold the record.
Step 1: Identify Your Public IP Address
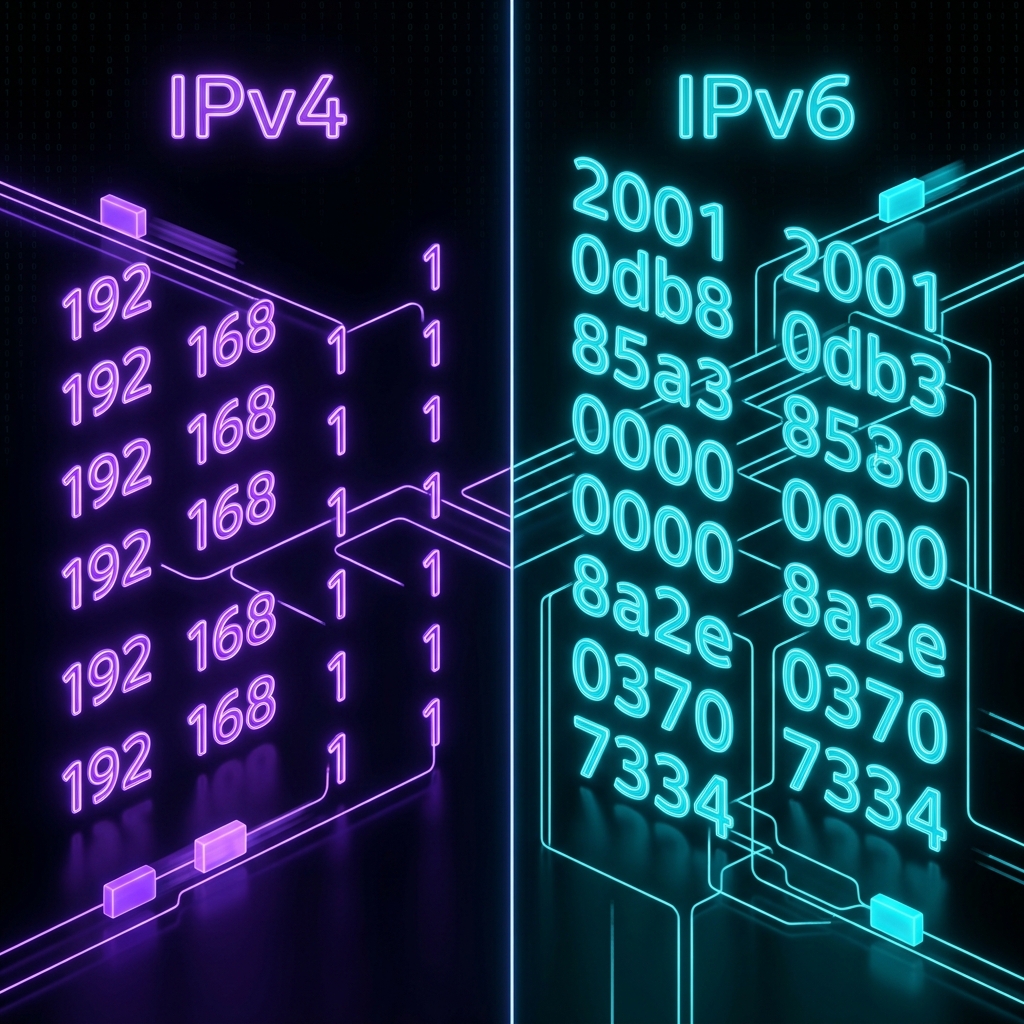
Ensure you are checking the correct public-facing IP address of your mail server, web server, or router, rather than an internal local IP (such as 192.168.x.x or 10.x.x.x).
Step 2: Run a Multi-RBL Lookup Query
Rather than checking hundreds of databases manually, use reputable aggregated lookup tools to scan dozens of major RBLs simultaneously:
- MXToolbox: Performs checks against over 80 industry-standard DNS-based blacklists. You can query your server's domain or IP directly via the MXToolbox Blacklist Check.
- Spamhaus IP Lookup: Checks the Zen database, which combines the SBL, XBL, and PBL blocklists.
- DNSBL.info: Provides a fast, aggregated check across major global anti-spam networks.
If your lookup returns green checks across all registries, your IP is clean. If one or more databases return a LISTED alert, note down the specific blacklist operator and the provided rejection codes.
Why Did Your IP Address Get Blacklisted?
Understanding why your IP address was flagged is essential. Requesting removal without solving the underlying cause will only result in an immediate re-listing, which makes subsequent removal requests much harder.
- Compromised Devices on Your Network: A malware infection on a workstation, server, or IoT device can turn your machine into a silent spam relay or botnet node.
- Email Authentication Failures: Lacking valid SPF (Sender Policy Framework), DKIM (DomainKeys Identified Mail), or DMARC records can cause receiving servers to treat your legitimate communications as spoofed spam.
- High Bounce Rates & Compromised Mailing Lists: Sending marketing emails to stale, unverified lists full of spam traps or invalid addresses triggers automatic security flags.
- Shared IP Neighborhood Effects: If you use shared web hosting or cloud infrastructure, a neighbor sharing your outbound gateway may have engaged in abusive behavior, impacting the entire shared IP pool.
- Open Relays or Open Proxies: Misconfigured mail servers that allow unauthenticated third parties to send emails through your domain will quickly land on global blocklists.
How to Remove Your IP Address from a Blacklist
Remediating a blacklisted IP requires a systematic two-phase approach: root-cause mitigation followed by formal delisting requests.
Phase 1: Fix the Root Cause
Do not request a delist until you have completed the following security checks:
- Run Network Antivirus/EDR Scans: Ensure all connected endpoints and servers are clean of malware, keyloggers, and trojans.
- Secure Outbound Mail Queues: Inspect your outbound mail queue for stuck spam messages or unauthorized outbound SMTP connections.
- Configure Email Authentication: Implement strict SPF, DKIM, and DMARC policies for your domain to authenticate your sending servers.
- Update System Passwords: Force a credential reset across email accounts and server logins to eliminate stolen credentials.
Phase 2: Submit a Delisting Request
Once your environment is secure, proceed with the removal process:
- Self-Service Delisting: Many major RBLs (such as Spamhaus PBL or Barracuda) offer automated self-service lookup forms. You simply input your IP address, confirm that the security issue has been resolved, and verify via email. Removal often takes between 1 to 24 hours.
- Manual Request Forms: Certain strict databases require manual review. You will need to submit a ticket explaining the exact steps you took to eliminate the source of the traffic (e.g., patched vulnerability, removed infected endpoint). Always maintain a professional tone and present clear evidence of remediation.
Proactive Strategies to Maintain a Clean IP Reputation
Preventing an IP listing is significantly easier than restoring a degraded IP reputation. Follow these cybersecurity best practices:
- Use Dedicated Sending IPs: For high-volume transaction or marketing emails, migrate from shared IP pools to dedicated IP addresses to control your own sender reputation.
- Implement Network Segmentation: Isolate guest Wi-Fi networks and IoT devices from critical enterprise mail and application servers.
- Monitor Outbound Traffic: Deploy firewalls with outbound traffic filtering to block unauthorized connections over port 25 (SMTP).
- Set Up Blacklist Monitoring Alerts: Use automated monitoring services to receive real-time notifications the moment your IP appears on any global RBL.
Related Articles